What to do!
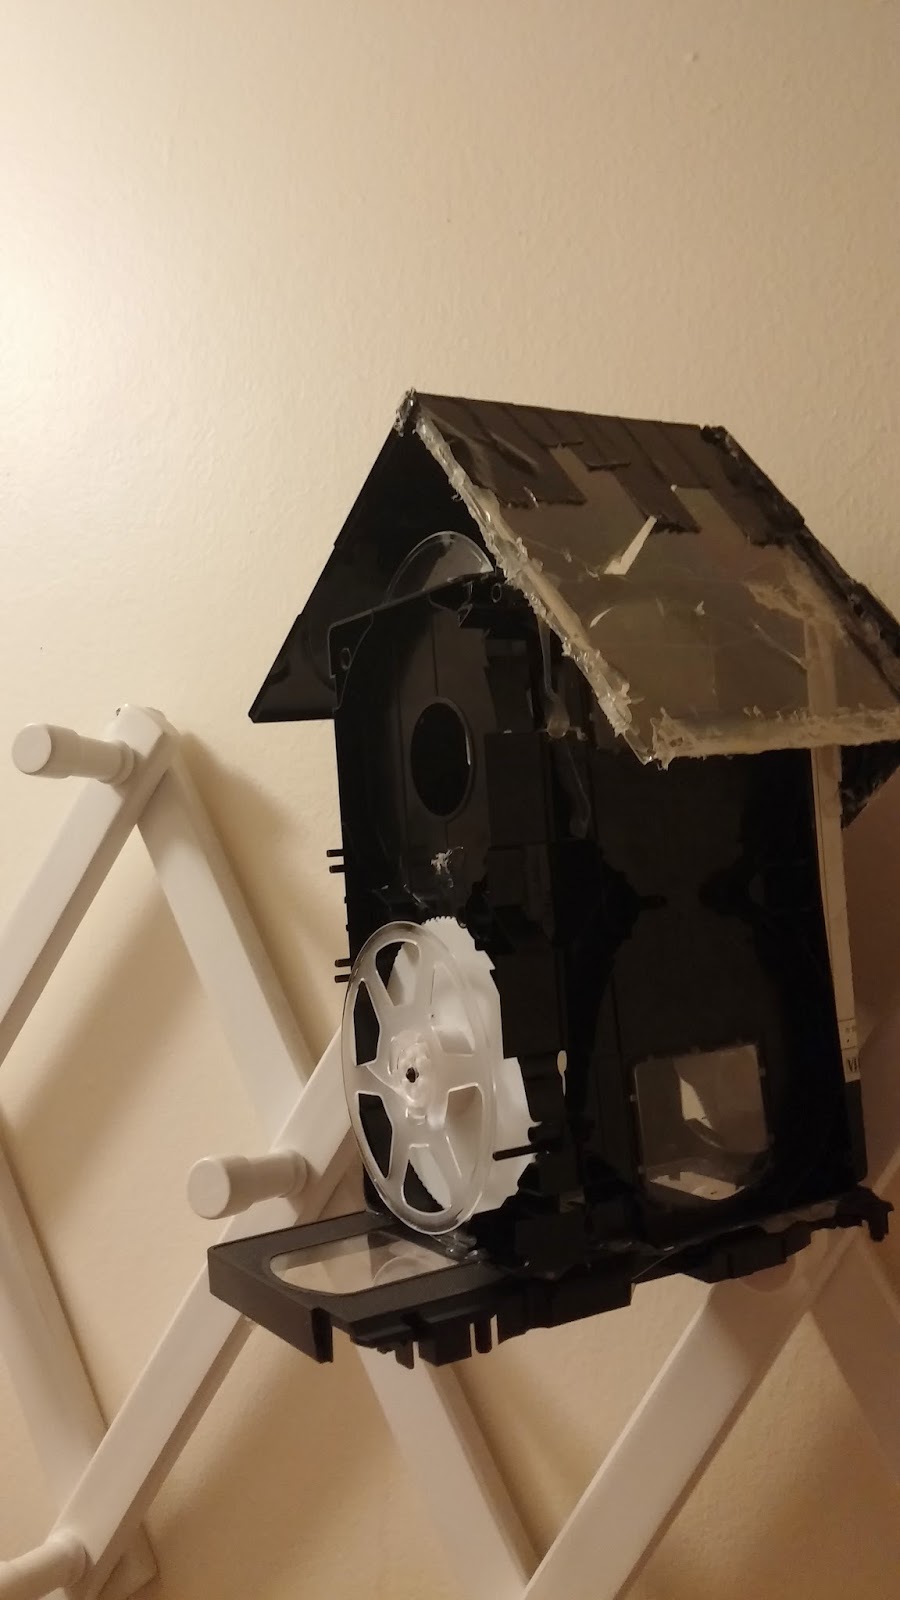
I Found 6 obsolete VCR tapes in my apartment today. I had squirreled them away thinking SOMEDAY I would do something with them! Well, that day has come. When I searched VCR tape I found several suggestions: You can make a shelf, a box, and other great ideas. Check out this link from google when I did a search for "upcycle VCR tapes".
Instructions
My favorite was the BIRDHOUSE! The hole in the tape casing was the perfect size! The designs I saw online used the whole tape, but I found out (through my awesome little sister) that the actual 'tape' in a VCR tape was highly toxic. Check out this forum for details on the toxic nature of video and other media tape.
To make a birdhouse out of VCR tapes you will need to handle the magnetic black vinyl tape carefully. I would suggest wearing gloves and if possible go outside. You will need to remove the tape from the plastic reels. If you cannot go outside be careful. Don't stretch or crush the tape....it is the dust that is toxic. You shouldn't place the tape in the trash. It needs to be given to your hazardous waste disposal company. Or you can send it to Greendisk for a fee. Read about it via Stanford's website.
 |
| A VCR tape is the perfect size for a Chickadee or Wren birdhouse! For details on how to make a wooden birdhouse check out Coverside BirdHousees |
What do you need to make an URBANITE birdhouse?
Glue gun/glue sticks (you can use other glue, just make sure it is non toxic and weatherproof.
small screwdriver (to deconstruct the tape)
2.5 vcr tapes (I made three bird houses out of 6 tapes).
1.5 CD cases *or one CD case with the extra plastic insert
extra flat piece of plastic from something (maybe you have a file folder)
Paint (non-toxic outside/ best to use paint you would use to paint toys)
 |
| This is what the inside looks like. You will want to collect all the little pieces of plastic. You will want to remove the metal piece (on the left). It is very easy to remove. |
1. Take out the 5 screws that hold the tape together
2. Carefully separate the tape case
3. Collect all the little plastic and metal pieces--you may need to fiddle around with the corners to make sure you have everything. You don't want to leave anything that could be swallowed by a bird.
4. Put aside the plastic reels
Each side of the tape can become the four sides and the bottom of the bird house. For the 3rd birdhouse I used the pieces of plastic that holds the tape together and glued them together for one side of one bird house.
I wanted to make sure that the birds had a smooth interior for their house. With that in mind I glued the box together with the interior of the tape facing outward.
The holes in the tape case are the perfect size for a bird (chickadee/wren size) but you only need one!
After you carefully remove the tape from the reels you can glue the reels over the holes.
For the roof you need 1.5 cd cases and some extra plastic to fill in the gap in front.
Open one CD case to make a triangle (you want one with a working hinge so that you can open the bird house to clean it). The other half is glued to this. Then you can glue it to the house. This can take some work because the back may not be flush. I used some of the metal pieces to make it flush and then the glue worked.
I intend to add to this post once I've painted and embellished this birdhouse.
Good Luck! Please let me know if you create birdhouses this way! Would love to see your creations!


No comments:
Post a Comment
Hi! Thanks for commenting on the COMPOST THIS! blog. We will review your message and post it as quickly as possible!